Model Context Protocol (MCP)
The Model Context Protocol (MCP) is an open standard that allows seamless integration between large language model (LLM) applications and external tools or data sources. Whether you're building an AI-enhanced IDE, a chat interface, or custom AI workflows, MCP makes it easy to supply LLMs with the context they need.
AI MCP
Model Context Protocol (MCP) Client Feature
The Model Context Protocol (MCP) Client Feature enables your application to connect to remote MCP servers using standard HTTP requests. One of the supported transport types is Server-Sent Events (SSE), which allows real-time data flow between LLMs and external services.
🛠 Connect to a Remote MCP Server (SSE Transport)
To connect your application to a remote MCP server using SSE:
- Open your Orchard Core project.
- Navigate to Artificial Intelligence → MCP Connections.
- Click the Add Connection button.
- Under the Server Sent Events (SSE) source, click Add.
- Enter the following connection details:
- Display Text:
Remote AI Time Server - Endpoint:
https://localhost:1234/ - Additional Headers: Leave empty or supply any required headers.
- Display Text:
- Save the connection.
➕ Create an AI Profile
Now that the connection is added, you can create an AI profile that uses this connection:
👉 Learn how to create an AI Profile
📄 Alternative: Recipe-Based Setup (SSE)
You can also configure the SSE connection programmatically using a recipe:
{
  "steps": [
    {
      "name": "McpConnection",
      "connections": [
        {
          "DisplayText": "Example server",
          "Properties": {
            "SseMcpConnectionMetadata": {
              "Endpoint": "https://localhost:1234/",
              "AdditionalHeaders": {}
            }
          }
        }
      ]
    }
  ]
}
Model Context Protocol (Local MCP) Client Feature
The Local MCP Client Feature allows your application to connect to MCP servers running locally, typically in containers. It uses Standard Input/Output (Stdio) for communication — ideal for offline tools or running local services.
🌐 Example Use Case: Global Time Capabilities with mcp/time
Let's equip your AI model with time zone intelligence using the mcp/time Docker image.
🧭 Step-by-Step: Connect to a Local MCP Server (Stdio Transport)
Step 1: Install Docker Desktop
Download and install Docker Desktop, then launch the app.
Step 2: Pull the MCP Docker Image
- Open Docker Desktop.
- Search for
mcp/timein the Docker Hub tab. - Click on the image and hit Pull.
Step 3: Add the Connection via Orchard Core
- Open your Orchard Core project.
- Navigate to Artificial Intelligence → MCP Connections.
- Click the Add Connection button.
- Under the Standard Input/Output (Stdio) source, click Add.
- Enter the following connection details:
- Display Text:
Global Time Capabilities - Command:
docker - Command Arguments:
["run", "-i", "--rm", "mcp/time"]
- Display Text:
💡 These arguments are based on the official usage from the mcp/time Docker Hub page.
➕ Create an AI Profile
Now that the connection is added, you can create an AI profile that uses it:
👉 Learn how to create an AI Profile
📄 Alternative: Recipe-Based Setup (Stdio)
Prefer configuration through code? Here's how to define the same connection using a recipe:
{
  "steps": [
    {
      "name": "McpConnection",
      "connections": [
        {
          "DisplayText": "Global Time Capabilities",
          "Properties": {
            "StdioMcpConnectionMetadata": {
              "Command": "docker",
              "Arguments": [
                "run",
                "-i",
                "--rm",
                "mcp/time"
              ]
            }
          }
        }
      ]
    }
  ]
}
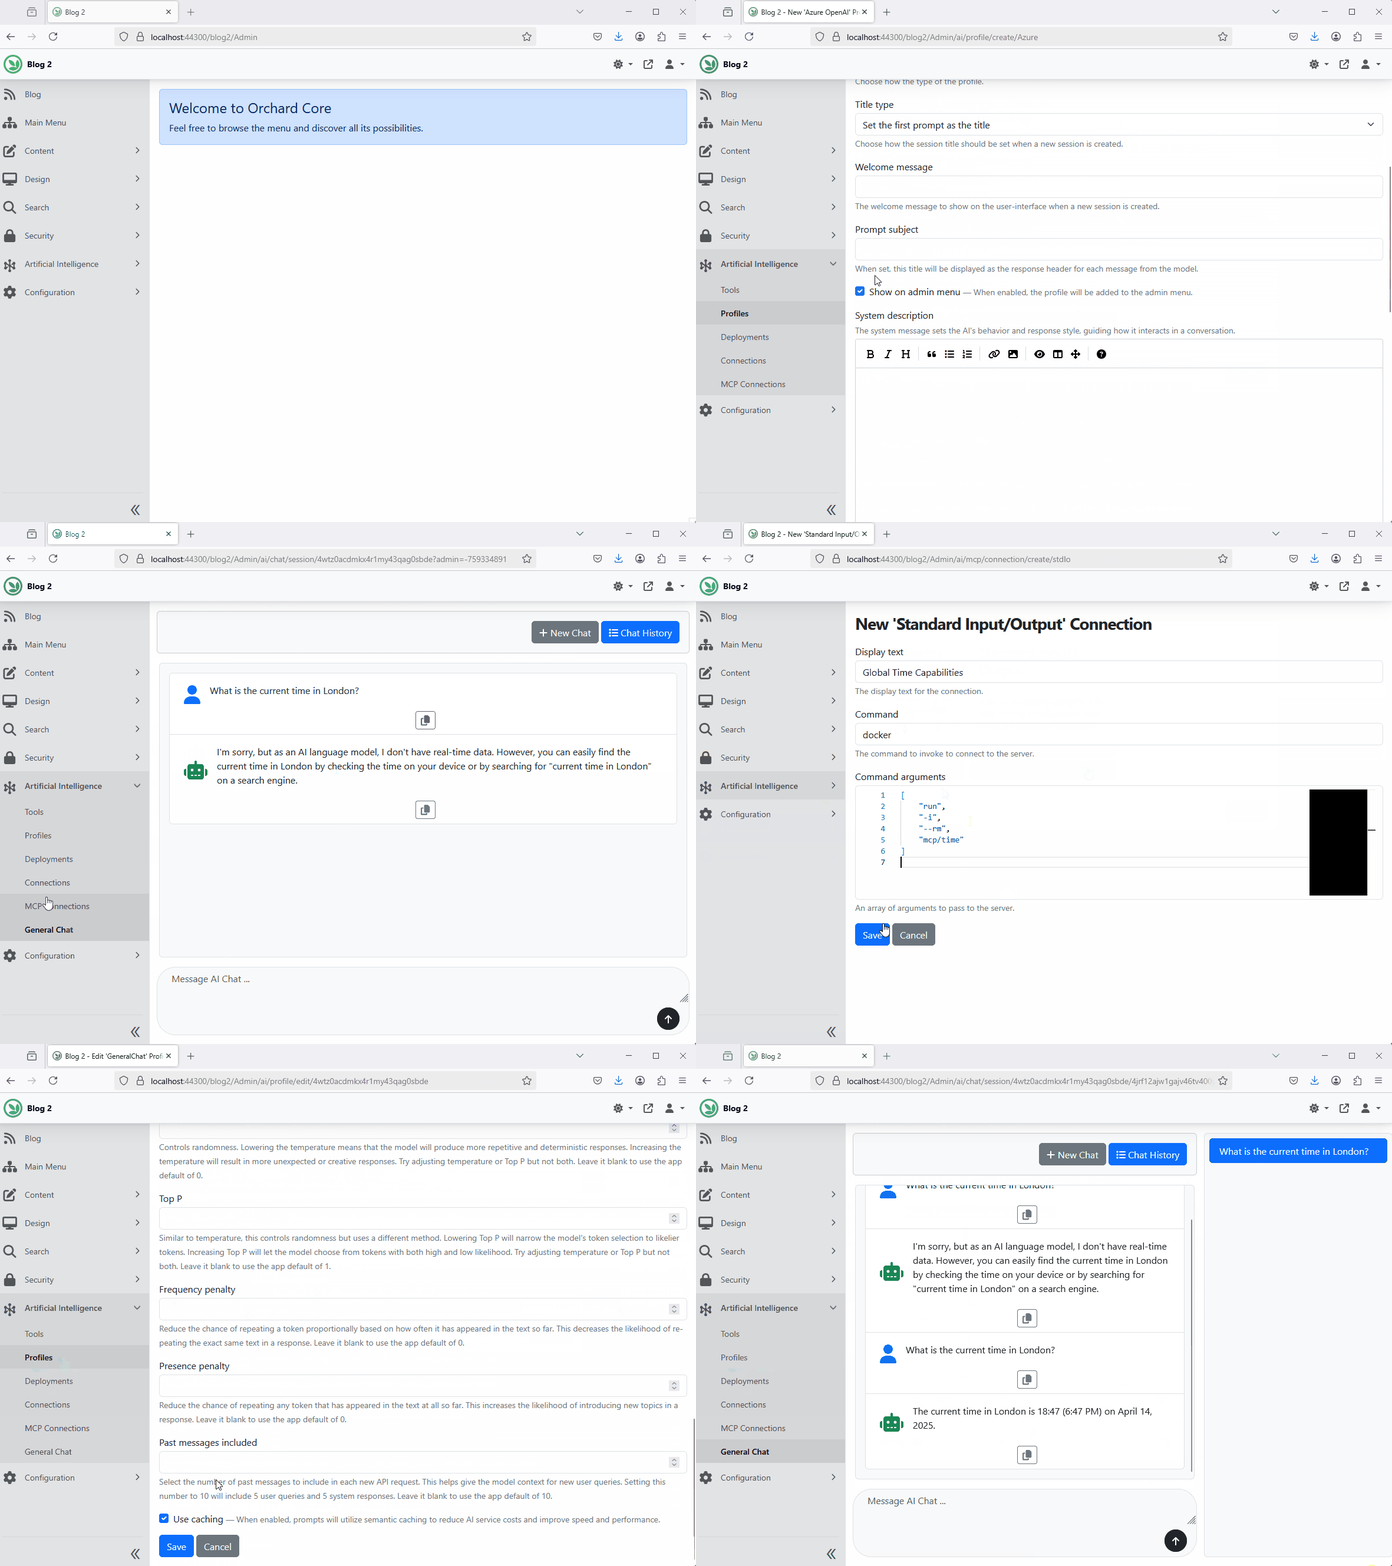
Admin Chat UI with Time MCP Server Integration (MCP Demonstration)
🔍 Explore More MCP Servers
Looking for more MCP-compatible tools? Explore these resources: